
Last updated September 24, 2026
Attic Insulation Maintenance Checklist for Palo Alto Homeowners
Blown cellulose settles roughly 15-20% in the first year after installation and can compact further when a roofer or HVAC technician walks across it. A Palo Alto attic that measured R-38 at installation may be performing closer to R-30 three years later with no visible sign of a problem from the access hatch. This guide gives exact measurements, failure thresholds, and the order of operations for a methodical annual inspection tied to the physical conditions your attic actually experiences. For a deeper dive, see our Complete Guide to Insulation in Palo Alto. You’ll learn how to convert settled depth back to R-value, spot moisture intrusion from winter fog, identify duct leakage without specialized equipment, and build a written record that outlasts any contractor’s warranty.
Quick Answer
Attic insulation maintenance in Palo Alto means measuring settled depth against your product’s settled-depth chart, checking for moisture staining at eave edges from winter fog intrusion, inspecting HVAC flex duct for disconnections, and documenting findings in a dated log stored with your original installation paperwork. Perform this inspection annually, ideally in October before the rainy season begins.
Table of Contents
- Why Settling Matters More Than Visible Damage
- How to Measure Insulation Depth and Convert to R-Value
- Spotting Moisture Intrusion in Palo Alto’s Fog Belt
- HVAC Equipment in the Attic: Duct Leakage Audit
- Pest Intrusion and Compression Damage
- Building Your Two-Page Inspection Log
- The Annual Maintenance Schedule
- Common Mistakes to Avoid
- When to Call a Professional
- Frequently Asked Questions
Why Settling Matters More Than Visible Damage
Most homeowners inspect their attics the way they’d inspect a roof: look for obvious damage, then relax. Insulation doesn’t work that way. The failure mode is invisible compaction, not torn batts or missing sections.
We’ve been in Palo Alto attics where the cellulose looked perfectly even across the joist bays but measured 4 inches below spec. The homeowner had no idea their heating bills had climbed 23% over two years because the change was gradual and the PG&E bill fluctuates with rate changes anyway.
Here’s what actually happens:
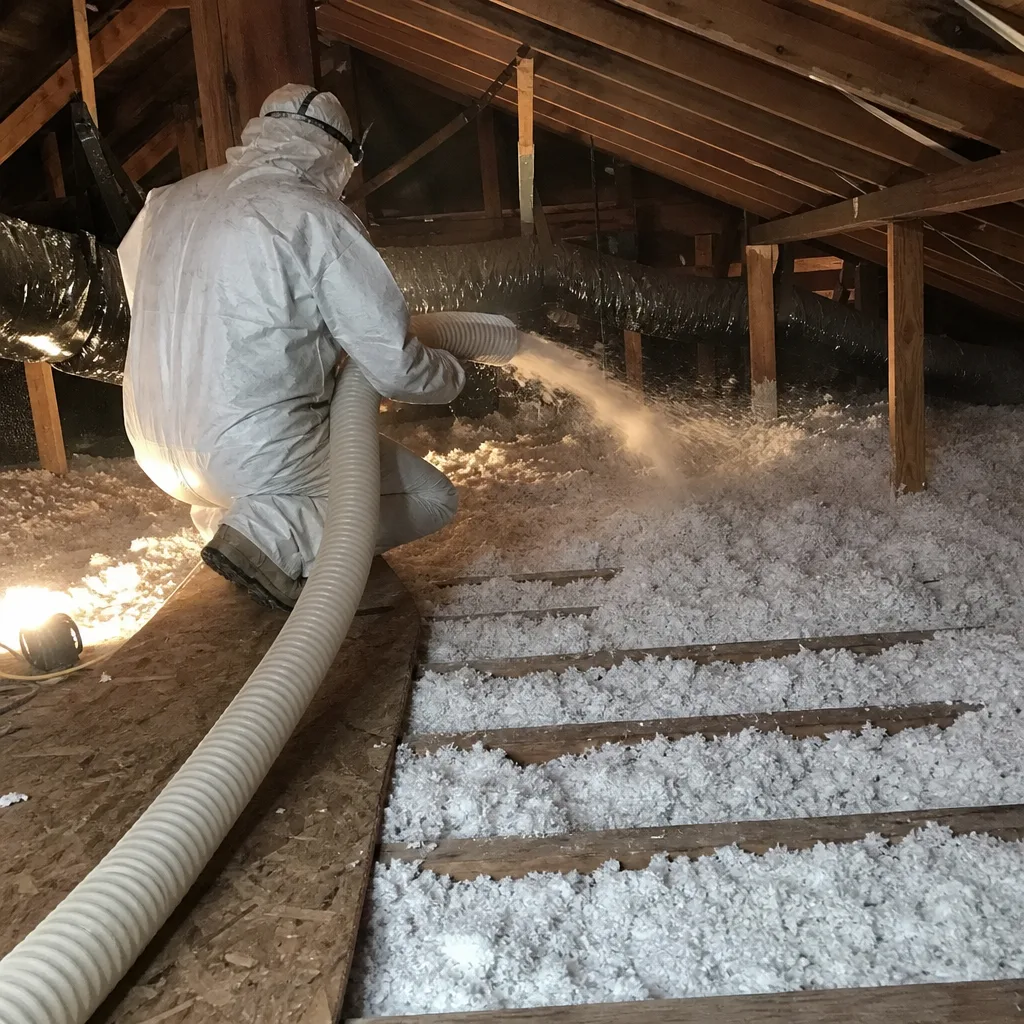
- Initial settling: Loose-fill cellulose drops 15-20% in the first year as fibers interlock and gravity compresses the matrix. Manufacturers account for this in their coverage charts, but post-installation disturbance doesn’t get factored back in.
- Mechanical compaction: Every time someone walks through the attic to service an air handler, run low-voltage wiring, or chase a leak, they compress the material beneath their path. A single footstep can reduce local R-value by 30% in cellulose, 15% in fiberglass.
- Wind washing: At eave vents where insulation meets soffit airflow, loose-fill can migrate over time, creating thin spots exactly where thermal bridging is already worst.
- Humidity cycling: Palo Alto’s summer marine layer and winter fog create humidity swings that cause cellulose to expand and contract slightly, accelerating mechanical breakdown of fibers over 5-10 years.
The critical insight: R-value is a measurement of thickness at a specific density, not a material property you can eyeball. An attic can look full and perform poorly. The only way to know is to measure.
Our crews see this on Topside Attic Insulation Palo Alto home energy audits regularly. Homeowners call for “more insulation” when what they actually need is restoration of the original depth plus air sealing of the bypasses that made the house uncomfortable in the first place. The Attic Insulation in Palo Alto page covers our full installation process, but maintenance is what protects that investment.
How to Measure Insulation Depth and Convert to R-Value
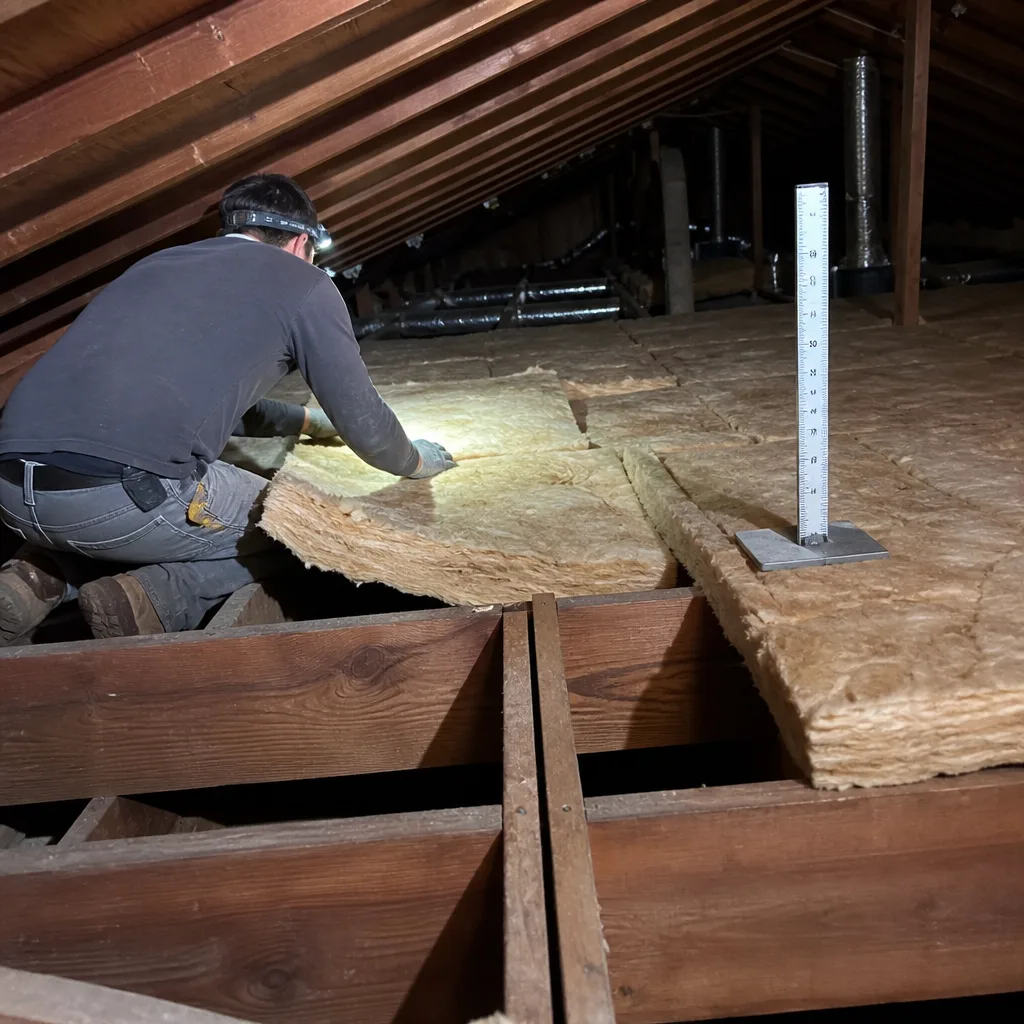
This is the core skill every Palo Alto homeowner needs. It takes ten minutes, requires no special equipment, and produces a number you can act on.
Tools You’ll Need
- Metal measuring tape or rigid ruler (wood swells with humidity, metal doesn’t)
- Permanent marker
- Your original insulation documentation, or a photo of the bag label if you can access it
- Calculator or phone
Step-by-Step Measurement
- Mark your depth reference. Find a vertical surface in the attic: a truss chord, a vent pipe, or the side of a recessed light housing. Mark the current insulation height with permanent marker and write the date. This creates a longitudinal record you can compare year over year without remeasuring from the drywall.
- Measure at six points minimum. Take readings at the center of the attic, within 3 feet of each eave, and near any HVAC equipment or access path. Record each location. Don’t average mentally; write them down.
- Account for joist height. If insulation sits between joists, measure from the drywall to the top of the insulation, not from the joist top. If you have a cross-layer (joist bays filled, then a perpendicular layer on top), measure total thickness.
- Check for variation. A 2-inch spread between your highest and lowest reading indicates uneven installation, settling, or disturbance. All three require attention.
Converting Depth to R-Value
This is where most guides fail you. They say “cellulose is R-3.7 per inch” and leave it at that. But settled cellulose at 1.5 lbs/ft³ performs differently from freshly fluffed material at 0.5 lbs/ft³, and manufacturers publish settled-depth charts for a reason.
Here’s the practical method:
- Identify your product. Common Palo Alto installations include GreenFiber (cellulose), CertainTeed fiberglass loose-fill, and Rockwool ComfortBatt in cathedral ceilings.
- Find the settled R-value chart. GreenFiber’s Insulation Calculator, for instance, specifies that R-38 requires a settled depth of 10.25 inches at 1.6 lbs/ft³ coverage density. CertainTeed’s Optima lists settled depth separately from installed depth.
- Compare your measured depth to the settled depth for your target R-value. If you measure 8 inches and the chart calls for 10.25, you’re at roughly R-30, not R-38.
- Factor in compression. Areas with foot traffic may read 6 inches while undisturbed areas read 9. The compressed zone is performing at approximately R-22 equivalent.
Failure threshold: If your measured depth is more than 15% below the manufacturer’s settled depth for your target R-value, consider our Attic Insulation services to add insulation or restore depth. In Palo Alto’s climate zone (CEC Climate Zone 4), current Title 24 standards call for R-38 minimum in attics for new construction, but many homes built 1950-1990 were originally insulated to R-19 or less. Know your baseline before judging performance.
Quick Reference: Common Settled Depths
| Product | Target R-Value | Settled Depth | Density |
|---|---|---|---|
| GreenFiber cellulose | R-38 | 10.25 in. | 1.6 lbs/ft³ |
| GreenFiber cellulose | R-30 | 8.06 in. | 1.6 lbs/ft³ |
| CertainTeed Optima | R-38 | 11.5 in. | 0.5 lbs/ft³ |
| Rockwool ComfortBatt | R-30 | 7.25 in. | 2.2 lbs/ft³ (batts, no settling) |
Rockwool and CertainTeed are both specified in Palo Alto projects where fire resistance or moisture tolerance is prioritized. Rockwool’s mineral wool doesn’t settle measurably, which is why depth markers show stable readings year over year in attics where we’ve installed it.
Spotting Moisture Intrusion in Palo Alto’s Fog Belt
Palo Alto sits in a unique microclimate intersection: summer marine layer penetration, winter tule fog from the Central Valley, and the rain shadow effects of the Santa Cruz Mountains. Your attic sees moisture from three distinct sources, and each leaves a different signature.
Three Moisture Signatures to Document
Winter fog staining: When dense fog sits over the Bay for days, roof sheathing temperature can drop below the dew point of attic air. This causes condensation on the underside of plywood or OSB, especially near eaves where insulation is thinnest. Look for:
- Dark streaking on roof sheathing that follows rafter lines (indicates airflow paths)
- Water staining at nail shanks protruding through sheathing (condensation nuclei)
- Discoloration concentrated on the north-facing roof slope, which stays cooler longer
Summer marine layer intrusion: On August mornings when fog rolls to the 280 corridor, attic vents pull in humid air. If your insulation has been disturbed, creating gaps near the hatch or around fixtures, that humid air contacts cooler drywall and condenses. Signs:
- Clumping of cellulose near attic access points (cellulose wicks and clumps when damp)
- Surface mold on dust-covered surfaces, not deep in insulation
- Musty smell that peaks in late morning, not during rain events
Rain penetration: Actual leaks are easiest to spot but often misattributed. Look for:
- Insulation compression in a cone shape below the penetration point (water tracks down fibers)
- Staining on the drywall ceiling below that doesn’t align with any attic feature
- Rust on metal ductwork or nail heads in a localized pattern
The Critical Distinction
Fog and marine layer moisture are ventilation and air-sealing problems. Rain penetration is a roofing problem. Treating fog condensation with more insulation without fixing air leaks makes it worse by reducing drying potential. We’ve seen Palo Alto homeowners in Old Palo Alto and Professorville add 6 inches of cellulose over unsealed top plates, only to find the new layer clumped and stained within two winters because humid attic air was still contacting cold sheathing.
Your inspection log should note: moisture location, approximate size, season first observed, and whether staining is active (wet to touch) or historic (dry, dark, possibly moldy). This documentation determines whether you need a roofer, an insulation contractor with air-sealing capability, or both.
HVAC Equipment in the Attic: Duct Leakage Audit
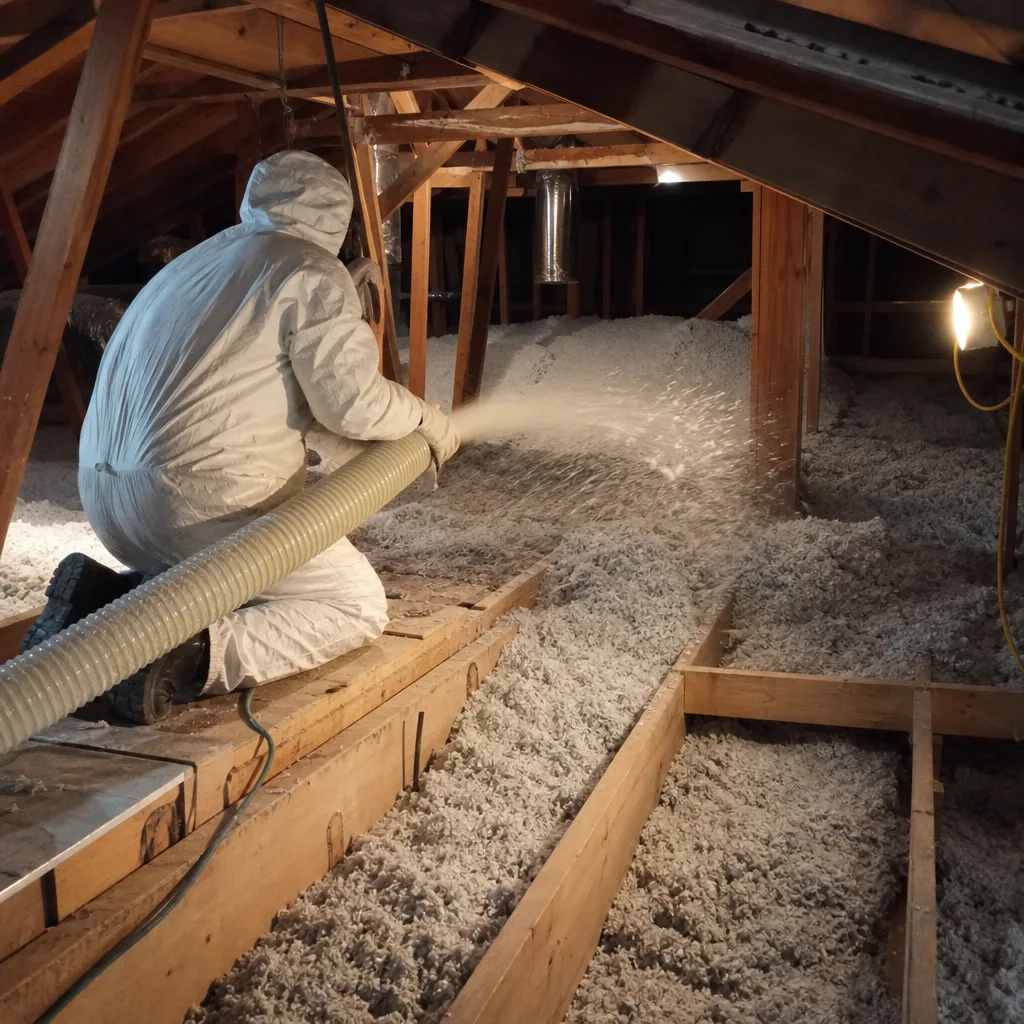
Palo Alto’s housing stock includes thousands of homes with furnaces and air handlers in the attic: Eichlers with original gravity systems retrofitted, ranch homes from the 1960s with updrafts, and newer construction with packaged units on curbs. Every one of these is an insulation performance killer if the ducts leak.
The physics are simple and brutal. Your attic might be R-38, but if your supply ducts leak 15% of conditioned air into that attic, you’re heating and cooling the outdoors. The insulation around the duct doesn’t help because the air is already outside the thermal envelope.
Visual Duct Inspection (No Duct Blaster Required)
A duct blaster is the professional tool for quantifying leakage, but you can identify major problems with a flashlight and your hand:
- Turn the system on. Run heating or cooling so there’s pressure in the ducts.
- Trace every accessible duct run. Start at the plenum (the box where air exits the unit) and follow each trunk and branch.
- Feel for airflow at connections. Place your hand near every joint, tee, and flex-to-metal connection. Any detectable airflow is a leak. In a sealed system, you should feel nothing.
- Inspect flex duct for kinks and disconnections. Flex duct sags over time, especially in Palo Alto attics where summer heat can degrade the plastic support wire. A kink reduces airflow; a full disconnection dumps all conditioned air into the attic. Look for:
- Sagging runs with visible compression (oval cross-section instead of round)
- Tape that has loosened or fallen away at connections
- Ducts that terminate in insulation with no visible register boot (common in additions)
- Check the return path. The return duct is under negative pressure, so it pulls attic air into the system. Look for gaps between the return plenum and the platform it sits on, and for filter slots that don’t seal tightly.
Insulation Interaction
Duct leakage doesn’t just waste energy. It destroys insulation performance locally. A leaking supply register buried in cellulose creates a warm, moist zone that accelerates fiber breakdown. A return leak pulls fine insulation particles into the HVAC system, where they clog filters and coat coils.
Your inspection log should note: number of accessible duct runs, any leaks felt or seen, flex duct condition (good/fair/poor with specific locations), and whether the air handler platform is sealed to the ceiling below. If more than two leaks are visible, or if any flex duct is disconnected, stop and call for a duct sealing assessment before addressing insulation.
For homes with significant duct leakage, Spray Foam Insulation in Palo Alto can be specified to create a conditioned attic where ducts live inside the thermal envelope. Icynene and Demilec open-cell foams are both used in local projects for this application, though the approach requires careful moisture management and isn’t right for every roof assembly.
Pest Intrusion and Compression Damage
Rodents are the unmeasured variable in attic performance. A single roof rat colony can compress insulation across 200 square feet of attic, and the compression is often invisible from the access hatch because rats prefer the perimeter, traveling along top plates and eaves.
What to Look For
- Tunneling paths: Smooth, compressed trails through loose-fill insulation, typically 3-4 inches wide, following joist tops or top plates. The insulation isn’t removed; it’s packed down to a firm walking surface.
- Nesting material: Shredded paper, insulation fibers, or landscape debris concentrated in corners or near warm duct runs.
- Droppings: Dark, rice-grain-sized pellets along travel paths. Fresh droppings are black and soft; old ones gray and crumbly.
- Urine staining: Visible on rafters or sheathing as crystalline deposits that fluoresce under UV light (a blacklight flashlight helps).
- Entry points: Gaps at eave intersections, vent screens with holes larger than 1/4 inch, and plumbing penetrations without escutcheons.
Quantifying Compression Damage
We’ve measured rodent-compressed zones in Palo Alto attics at 40% of original thickness. A zone that was R-38 becomes R-15. Worse, the tunnels create convection paths that bypass the remaining insulation entirely.
Your inspection should:
- Map any tunneling on your attic diagram (see the inspection log section below)
- Measure compressed depth separately from undisturbed depth
- Photograph entry points for a pest control professional
- Note whether droppings appear fresh (indicate active infestation) or old
Remediation Sequence
This matters for performance and health. The wrong order wastes money:
- Exclusion first. Seal all entry points with steel mesh, concrete patch, or metal flashing. Without this, new rodents arrive within weeks.
- Remove contaminated insulation. Vacuum extraction, not hand removal, for loose-fill. Batts can be bagged if contamination is light.
- Sanitize and deodorize. Enzyme treatments break down urine proteins that attract new rodents.
- Repair air leaks exposed by removal. This is your opportunity to seal top plates, wire penetrations, and can light housings.
- Re-insulate to full depth. Only after the envelope is sealed and verified clean.
Skipping step 4 is common and costly. We’ve been called to Palo Alto homes where new insulation was blown over contaminated, unsealed attics. The rodents returned, the new insulation compressed, and the homeowner paid twice.
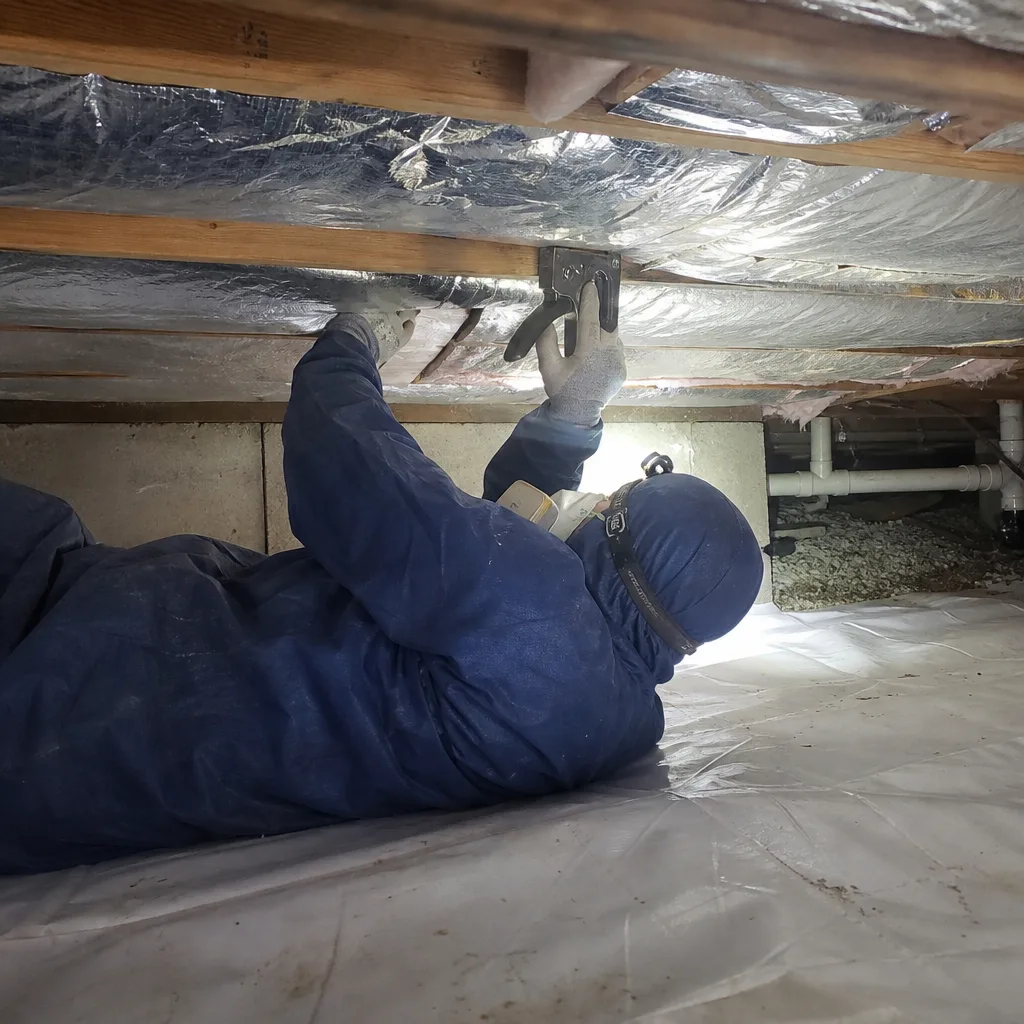
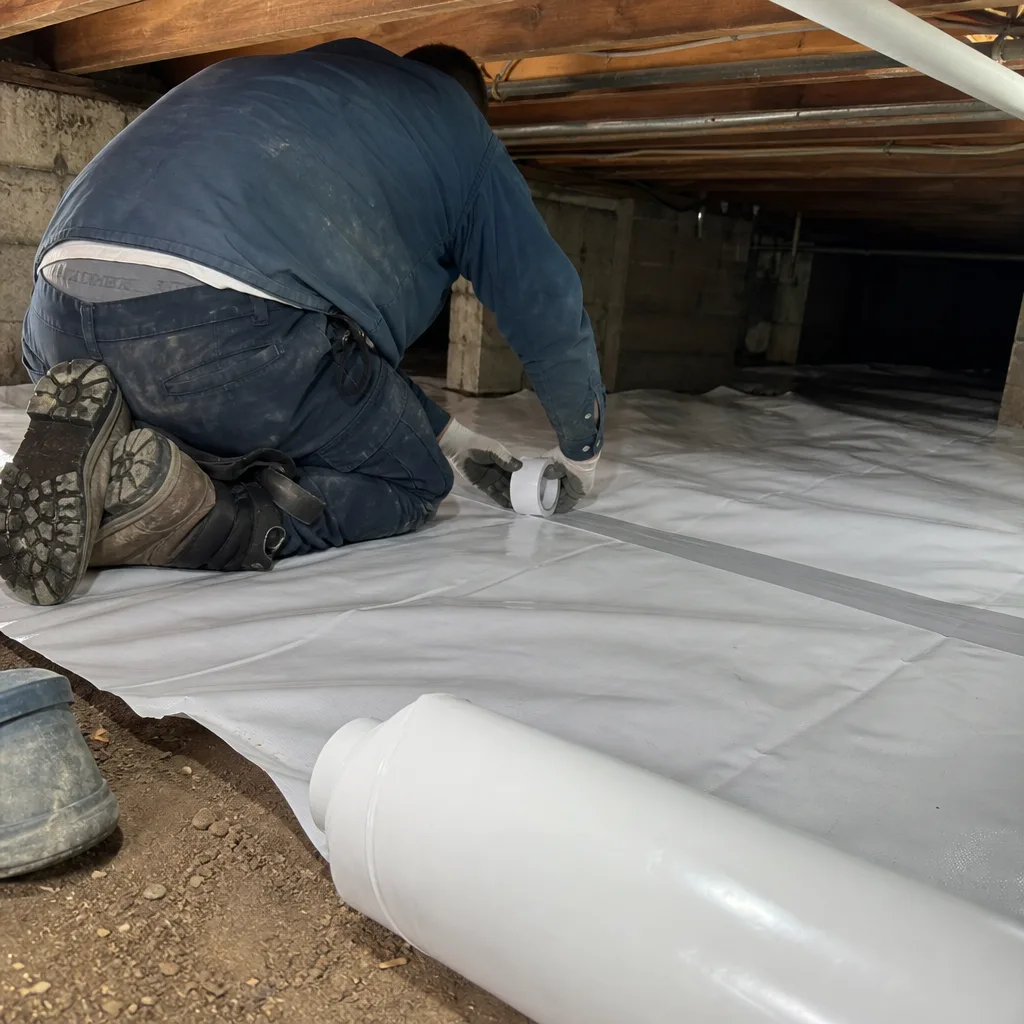
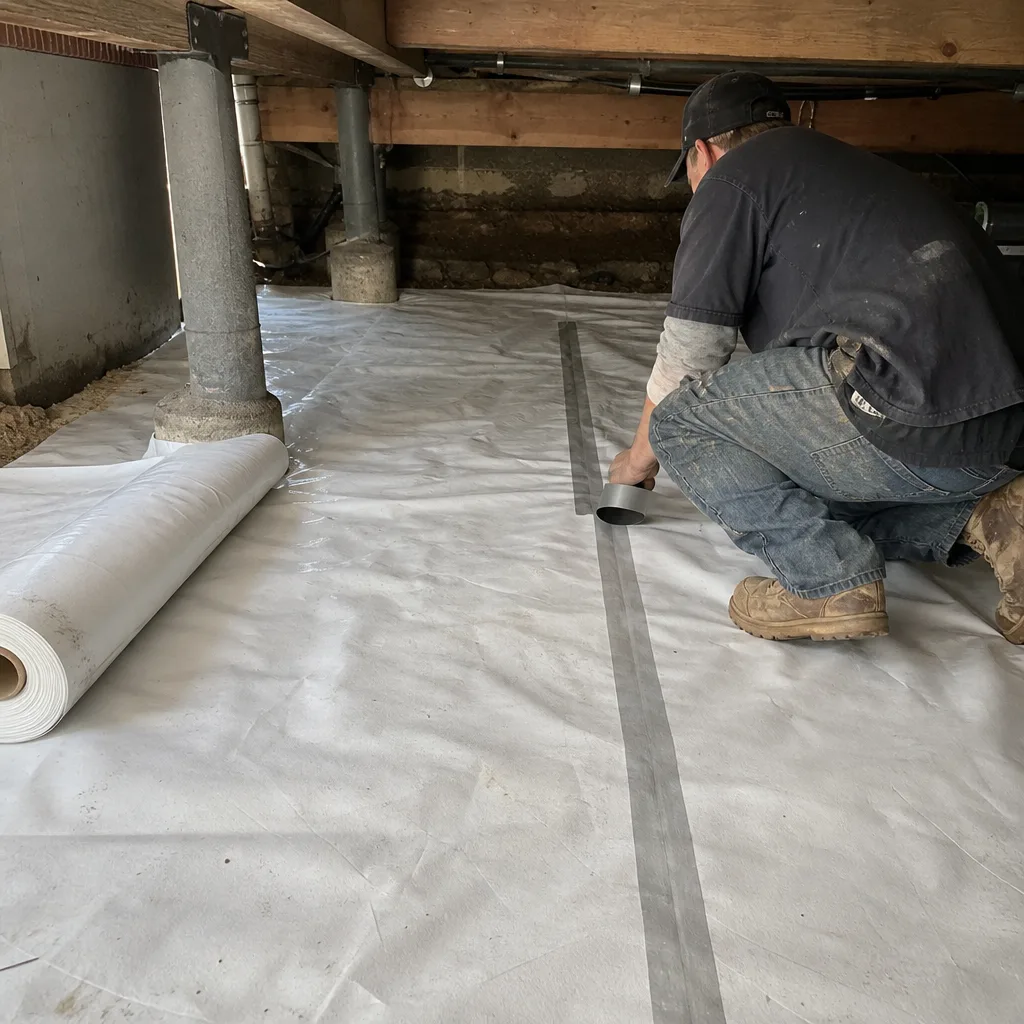
Homes with chronic moisture or pest issues should also consider Crawl Space Encapsulation & Vapor Barrier in Palo Alto as part of a whole-envelope strategy. Rodents travel between attic and crawl space through wall chases; sealing one without the other leaves a pathway open.
Building Your Two-Page Inspection Log
This is the deliverable that separates systematic maintenance from hopeful guessing. Your log creates a record that outlasts contractors, warranties, and your own memory.
Page One: Attic Diagram and Measurements
Draw a simple plan view. Doesn’t need to be architectural; a rectangle with major features noted is sufficient. Include:
- Attic access location and type (scuttle, pull-down stair, full stair)
- HVAC equipment location and duct trunk lines
- Vent locations: ridge vents, gable vents, soffit vents, powered vents
- Any protrusions: chimney, vent pipes, recessed lights
- Your six (or more) measurement points, labeled A-F
Record in a table:
| Point | Location | Depth (in.) | Condition | Notes |
|---|---|---|---|---|
| A | Center | |||
| B | North eave | |||
| C | South eave | |||
| D | East eave | |||
| E | West eave | |||
| F | Near HVAC |
Page Two: Condition Checklist and Action Log
Checklist section:
- Moisture staining observed? Y/N. Location: _______. Active or historic? _______
- Duct leaks detected? Y/N. Number: _______. Locations: _______
- Rodent signs present? Y/N. Evidence type: _______
- Insulation depth below 15% of spec? Y/N. Points affected: _______
- Wind-washed areas at eaves? Y/N. Locations: _______
- Access hatch weatherstripped and insulated? Y/N
- Light fixtures IC-rated or protected? Y/N
Action log section (dated entries):
| Date | Action Taken | By Whom | Result |
|---|---|---|---|
Store this log with your original installation documentation: product labels, contractor invoice, any blower-door test results, and warranty paperwork. When you sell the home, this record demonstrates maintenance and can support energy-upgrade claims.
The Annual Maintenance Schedule
Timing matters in Palo Alto’s climate. October inspection lets you address problems before the rainy season and heating season overlap.
October: Pre-Rain Inspection
- Measure all depth points and record
- Inspect for moisture staining from summer marine layer
- Check duct connections before heating season load
- Verify attic ventilation paths are clear (no insulation blocking soffit vents)
- Photograph conditions for year-over-year comparison
February: Mid-Winter Spot Check
- Quick visual for active moisture (staining that wasn’t there in October)
- Check for condensation on nail shanks during fog events
- Note any comfort complaints from occupied rooms below
May: Post-Rain Assessment
- Final moisture check before dry season
- Verify no pest activity initiated during winter
- Plan any remediation or addition work for summer scheduling
This schedule catches problems in their first season, before they compound. A moisture stain documented in October and growing by February is an active leak. The same stain unchanged is historic and can be monitored. The difference determines whether you call a roofer this month or next year.
Common Mistakes to Avoid
- Measuring only at the access hatch. The hatch area is the most disturbed zone in most attics and rarely represents overall depth. Measure deep in the field.
- Adding insulation over unsealed air leaks. This traps moisture and provides a highway for rodents. Seal first, insulate second, always.
- Ignoring the access hatch. An uninsulated, unweatherstripped hatch is a 2-square-foot hole in your thermal envelope. R-value calculations assume a continuous ceiling.
- Treating all moisture as a roof leak. In Palo Alto, fog condensation is more common than actual leaks. A roofer can’t fix ventilation physics.
- Using compressed fiberglass as a depth reference. If a previous owner walked batt insulation flat, measuring from that surface gives a false low reading. Probe to the drywall.
- Skipping documentation. Without dated records, you can’t prove degradation to an insurer, a buyer, or yourself. The log is the work.
- DIY rodent cleanup without respiratory protection. Hantavirus risk is real in Santa Clara County. Professional vacuum extraction with HEPA filtration is the safe method.
When to Call a Professional
Some conditions exceed homeowner maintenance and require trained assessment. Call for professional help when:
- Measured depth is more than 25% below specification across multiple points
- Moisture staining is active, widespread, or accompanied by sheathing delamination
- You detect more than two duct leaks or any disconnected flex duct
- Rodent signs indicate active infestation (fresh droppings, new tunneling, audible activity)
- Your home has knob-and-tube wiring in contact with insulation (fire hazard; do not disturb)
- Comfort problems persist despite apparent adequate insulation depth
Topside Attic Insulation Palo Alto offers free estimates in Palo Alto. We’ll measure with calibrated equipment, run a blower-door test if indicated, and give you a written scope with a fixed price before any work starts. Call (650) 352-3577 to schedule. Every job closes with a Documented Photo Record and, on air-sealing work, before-and-after blower-door numbers so you can verify the result.
Frequently Asked Questions
Inspect annually in October, with quick spot checks in February and May. Palo Alto’s fog belt climate means moisture conditions change seasonally, and annual measurement catches settling before it compounds into comfort problems or energy waste. Call (650) 352-3577 if your October inspection reveals depth loss over 15% or any active moisture.
Yes, if the old insulation is dry, uncontaminated, and uncompressed. No, if there’s moisture damage, rodent activity, or significant settling that indicates air leaks below. Adding over wet or contaminated material traps problems and voids most manufacturer warranties. We assess existing conditions before recommending any addition.
Duct leakage, not insulation failure, is the most common cause in Palo Alto homes with attic HVAC. A disconnected flex duct or leaking return pulls 130°F attic air into the system. Measure duct integrity before blaming insulation. Our energy audits include duct pressure testing to isolate the cause.
Most attic restoration jobs in Palo Alto homes of 1,800-2,400 square feet run between $1,800 and $3,400 for depth restoration with air sealing, assuming no contamination removal is needed. Full removal and replacement with upgraded R-value runs $4,200-$7,800 depending on access difficulty and product selection. We provide a written price before any work starts; call (650) 352-3577 for an exact quote based on your measurements.
Fog condensation appears as widespread, shallow moisture on sheathing without a point source, worsens during multi-day fog events regardless of rainfall, and typically affects north slopes first. Roof leaks show as concentrated staining with a defined origin, track along structural members, and worsen during actual rain. Fog problems need ventilation and air-sealing fixes; leaks need roofing repair.
No. A metal ruler and the manufacturer’s settled-depth chart give you actionable data. Professional measurement becomes necessary when you find problems you can’t explain, when access is hazardous, or when you need blower-door verification of air-sealing results. We’ve taught hundreds of Palo Alto homeowners to self-inspect; the log matters more than who holds the ruler.
The Bottom Line
Attic insulation maintenance is measurement, not observation. A Palo Alto attic that looks fine from the hatch can be underperforming by 30% due to settling, compression, or duct leakage invisible to casual inspection. The homeowners who protect their investment are those who keep a written log: dated depth readings, moisture observations, duct condition notes, and action records. This documentation outlasts any contractor’s visit and creates accountability no warranty language can match. For more guides & resources, explore our blog. Start with the six-point measurement this October. Compare it to your product’s settled-depth chart. If the numbers don’t match, you have a project, not a hunch.
Written by Wes Okafor, Owner at Topside Attic Insulation Palo Alto, serving Palo Alto since 2016.