
Rockwool Vapor Barrier Installation: The Palo Alto Owner’s Guide
Rockwool vapor barrier installation in Palo Alto typically runs $2,800-$4,600 for a complete crawl space or attic application, and we stock Rockwool-compatible vapor barrier membranes and sealing components on every truck for same-day starts. Most owners discover the problem when they pull back insulation in a damp corner of a Midtown crawl space or catch a musty smell that doesn’t clear after rain - the kraft facing or polyethylene sheet has torn at a penetration, or the seam tape has failed where warm interior air meets cool foundation walls. We see this pattern often in Palo Alto’s older ranch stock, where original vapor barriers were installed before the current ASTM E1745 Class A standards existed.
Which Rockwool Models This Applies To
Rockwool doesn’t manufacture standalone vapor barrier membranes; the critical pairing is between Rockwool Comfortbatt, Comfortboard, or AFB evo batt insulation and the vapor retarder or barrier installed against the conditioned side. For Palo Alto’s climate zone 3C, Rockwool specifies a Class I or Class II vapor retarder on the interior of above-grade walls, and a Class I vapor barrier - 6-mil polyethylene minimum, 10-mil reinforced preferred - in crawl spaces and unconditioned attics where ground moisture is present.
Identification matters because Rockwool’s density, roughly 2.5-4.0 pounds per cubic foot depending on the product line, doesn’t compress the same way fiberglass does. A vapor barrier installed too loosely behind Comfortbatt in a 2×6 wall will balloon and create convective loops; installed too tight, it tears at fasteners. We check the product stamp on the batt facing - “ROCKWOOL Comfortbatt R-23 5.5” or similar - then match membrane thickness and permeance to the assembly. OEM-specified accessories include Rockwool-recommended seam tape and acoustic sealant for penetrations, though we also carry StoGuard and Prosoco equivalents that meet the same permeance specs at lower cost. The compatibility gotcha: Comfortboard 80, the rigid exterior insulation, requires a fluid-applied or self-adhered membrane rather than polyethylene, and we’ve found that owners sometimes order the wrong pairing after reading general advice online.
Signs Your Rockwool Vapor Barrier Installation Is Failing
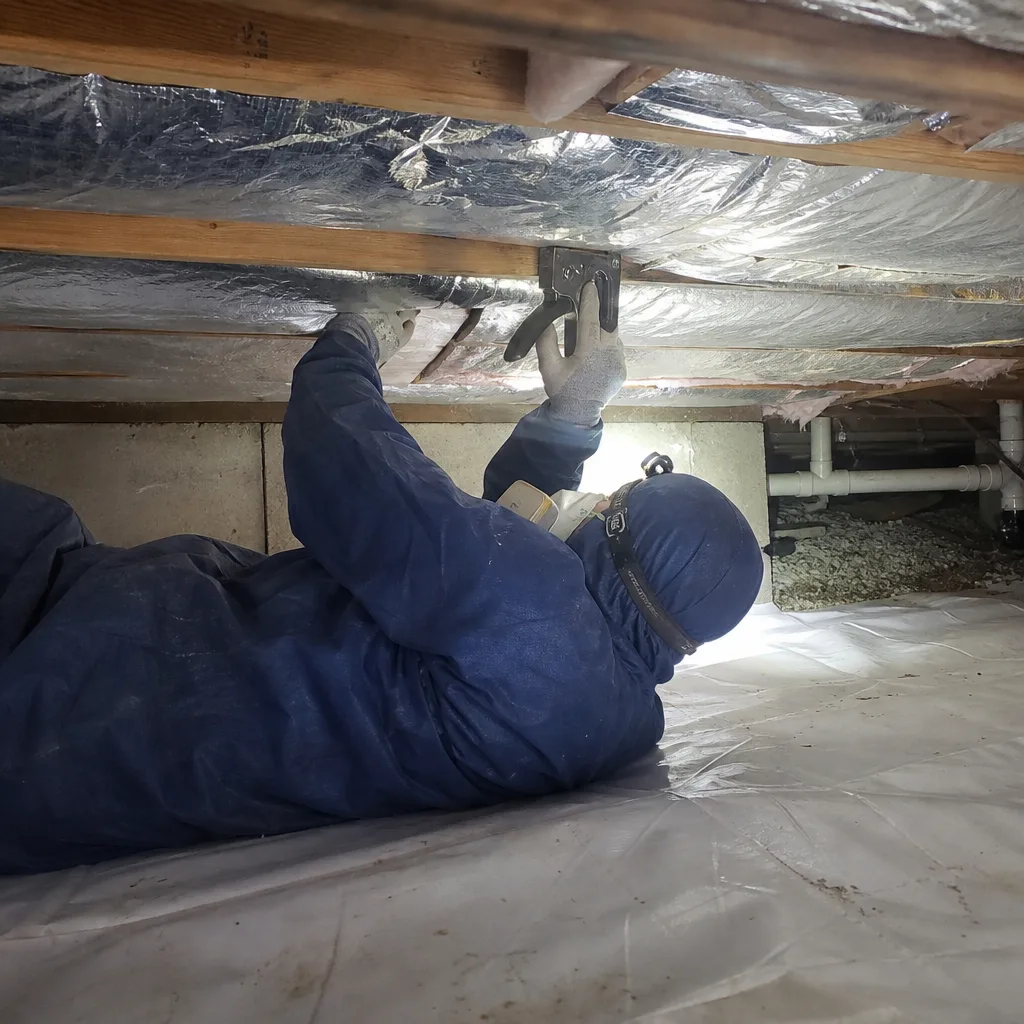
- Musty or earthy odor that intensifies after rain. This usually means the polyethylene has separated at a seam or torn around a plumbing penetration, letting soil gas and moisture migrate through the Rockwool rather than staying trapped below the barrier. The batt itself won’t mold - Rockwool is hydrophobic - but the framing and subfloor above it will.
- Visible condensation on the interior face of the barrier. When the vapor retarder is installed on the wrong side of the assembly for the season, or when the perm rating is mismatched to the wall or floor cavity, water beads on the surface and runs to the lowest point. In Palo Alto’s mild winters with occasional hard freezes, this shows up first at rim joists.
- Sagging or detached barrier hanging below joists. The original installer likely used inadequate fasteners - staples every 24 inches instead of 12, or no furring strips at seams. Rockwool’s weight, especially when Comfortbatt is dense-packed, pulls the membrane down over time and creates gaps where air moves freely.
- Discoloration on the kraft facing of adjacent fiberglass batts. This is a tell in mixed-insulation retrofits, common in Old Palo Alto additions where Rockwool was added to existing walls. The vapor barrier failed at the transition, and moisture is moving through the less resistant fiberglass path.
- Efflorescence on foundation walls or concrete piers. The barrier isn’t lap-sealed to the wall or the sealant has degraded. We’ve found this repeatedly in crawl spaces with sandy Palo Alto soils where the original installer skipped the 6-inch minimum overlap onto the foundation and the parged seal.
Replacement Cost & What’s Included
| Scope | Typical Range in Palo Alto |
|---|---|
| Crawl space vapor barrier replacement (1,000-1,500 sq ft), 10-mil reinforced polyethylene, seam tape, mastic at penetrations | $2,800-$3,900 |
| Attic floor vapor barrier with air sealing of top plates and can lights, Rockwool-compatible membrane | $3,200-$4,600 |
| Partial repair: localized tear at penetration, patch and re-tape | $650-$1,100 |
| Blower-door test with documented before-and-after readings | Included in full replacement; $325 standalone |
What drives the range: accessibility (height of crawl space, presence of ductwork or low-hanging pipes), condition of existing fasteners and framing, and whether the original barrier was asbestos-containing - pre-1990 black mastic-backed sheets require abatement protocol. Every full replacement includes removal and responsible disposal of the old membrane, installation of new 10-mil reinforced polyethylene with 12-inch overlaps at seams sealed with pressure-sensitive tape, mastic at all penetrations, mechanical fastening to sill plate and piers, and a Documented Photo Record of every seam and penetration before we close. The 365-Day Done Right Promise applies. Written price before any work starts, always - Haven Standard Clause 1.
DIY or Call Us?
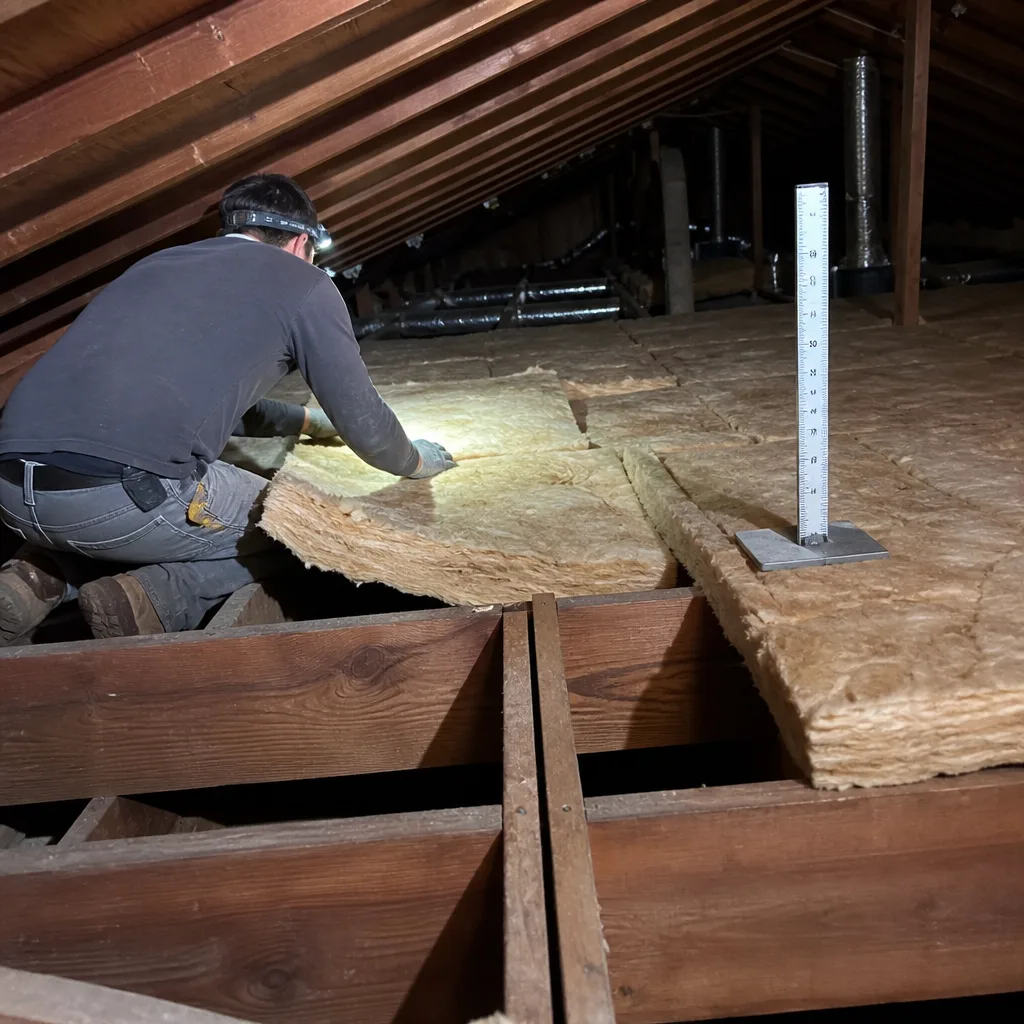
There’s no high-tension danger in vapor barrier work, but there is a hidden risk: getting the perm rating and placement wrong for the assembly. An owner can safely check for tears, measure the existing membrane thickness with a micrometer, and photograph the product stamp on any visible Rockwool batts. What goes wrong in DIY is the sequencing. We’ve been called to Palo Alto crawl spaces where a homeowner laid new poly over old, trapping moisture between layers, or where they sealed the barrier to the foundation with acrylic latex caulk that won’t bond to damp concrete. The other common error: installing the vapor barrier before air sealing the top plates and penetrations. Seal the leaks first. The insulation has nowhere to work if the air is moving around it. If your blower-door number is above 3,000 CFM50 on a 2,000-square-foot house, the barrier alone won’t solve the moisture load. Call (650) 352-3577 and we’ll read your situation with you - free second opinion on any written estimate you’ve already received.
FAQs
Properly installed 10-mil reinforced polyethylene with UV-stabilized seam tape lasts 20-30 years in Palo Alto’s climate, though we inspect at 15 years because the tape adhesive degrades faster than the sheet itself in crawl spaces with seasonal humidity swings. Call (650) 352-3577 to schedule a look - estimates are free.
Yes, if the tear is smaller than a dinner plate, the surrounding membrane is still supple, and the damage is isolated to one penetration or seam. We patch with matching material and pressure-sensitive tape, then verify the seal with a smoke pencil. If the original sheet is brittle, chalky, or has multiple failure points, replacement is more economical than chasing leaks. Call (650) 352-3577 for an exact quote - estimates are free.
Most crawl space jobs in Palo Alto finish in one day, two at most if we’re also air sealing top plates and running a blower-door test. Attic floor work with existing Rockwool batts in place takes longer because we protect or temporarily remove the insulation to install the membrane cleanly. Wes Okafor’s crew will give you a written schedule with the price before anyone lifts a tool.
We carry 6-mil and 10-mil reinforced polyethylene, StoGuard fluid-applied membrane for Comfortboard applications, pressure-sensitive seam tape, and acoustic sealant on every truck. We’re an independent service provider, not affiliated with Rockwool, and we also stock Reflectix radiant barrier products for mixed assemblies. Same-day starts are available when the scope is confirmed by phone.
Written by Wes Okafor, Owner, Topside Attic Insulation Palo Alto at Topside Attic Insulation Palo Alto, serving Palo Alto and nearby areas.